
DICOM Settings - Location
Manage DICOM-enabled devices/workstations/servers from Locations.
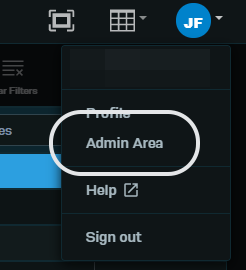
From the upper right-hand corner, activate the drop-down menu with a click. Navigate to the User Profile and open the drop-down menu with a click. Select Admin Area to view the options available to the Admin.
The page will default to the Location Activity.
Add a Location
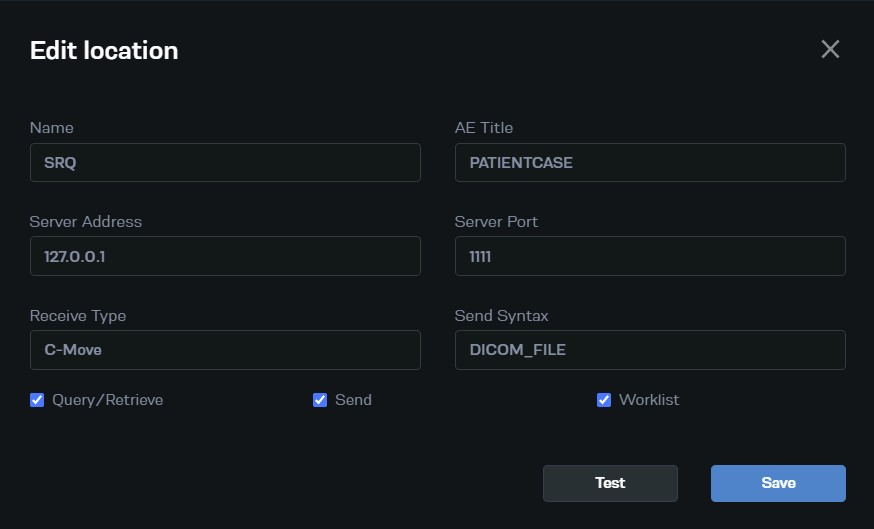
From the upper left-hand corner of the screen, select Add Location and complete all fields:
Name: the description of the location.
AE Title: the location/devices AETITLE is set at the location and would be given by a third party or modality on-prem or offsite.
Server Address: the Server Address is provided by the third party or modality on-prem or offsite. And can be either an IP address, URL, or computer/device name on a local network.
Server Port: a common port used for DICOM is 104 but can be, for example, 1100. The Port may be typed in.
Receive Type: these options refer to the kind of communication that occurs between VitalPACS to this location. This option will be decided by what the location supports and will be provided.
Send Syntax: determines the compression level used when sending or retrieving studies. Select from the drop-down. Usually set to DICOM_FILE.
Select: Query/Retrieve or Send. These options specify what the Location is used for. Select Query/Retrieve only to find and retrieve studies.
Select Send to send these location studies.
Select Test to verify all settings entered are correct. An ECHO is sent to the Location. If there is a successful connection, these settings are correct.
Select Save when all settings are entered.
Edit a Location
To edit the location, select the pencil/pad button. Edit the necessary field and select Test or Save. The Test doesn’t have to pass to Save, but the Location must be saved after a Test.

Echo Test
To test the Location connectivity, Select the lightning bolt. A model will appear to confirm the connection.


Delete a Location
To delete a Location. Select the trashcan. Confirm the deletion of the Location.